How to Conduct Research: 8 Essential Steps & Best Practices
Learn how to conduct research properly with 8 essential steps. Complete guide covering research process from problem identification to sharing findings.
Free tutorials, guides, and resources to help you excel in statistical analysis, data science, and artificial intelligence. Available in English, Romanian, and Thai.

Learn how to conduct research properly with 8 essential steps. Complete guide covering research process from problem identification to sharing findings.

Learn how to take a simple random sample in 4 steps. Includes definition, examples, Excel/SPSS/R methods, and when to use simple random sampling.

Learn what a null hypothesis is, its symbol (H₀), and when to use it. Includes definition, examples, how to write it, and when to reject or accept.

Learn what research is with clear definition and 8 key characteristics. Includes examples, types, and the difference between good and poor research.

Explore 5 complete quantitative research ideas with research questions, hypotheses, variables, methodology, and data analysis. From simple correlation to mediation and moderation.
![What is T-Test? Definition, All 3 Types, and How to Read T-Test Values [Complete Guide]](/images/blog/en/featured/what-is-t-test.png)
T-test is a statistical test used to compare means of groups. Learn the definition, all 3 types (One-Sample, Paired, Independent), formulas, and how to read p-values in this complete guide.
![How to Do T-Test in Excel: Complete Guide for All 3 Types [One-Sample, Independent, Paired]](/images/blog/en/featured/t-test-in-excel-complete-guide.png)
Learn how to perform t-test in Excel with step-by-step formulas for all 3 types: One-Sample, Independent Samples, and Paired t-tests. Includes downloadable Excel template and complete interpretation guide.

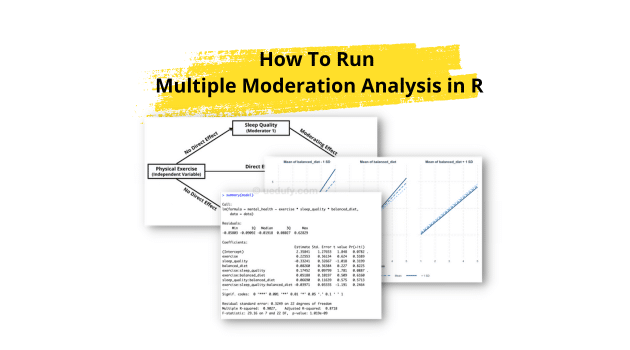
In this lesson, we will learn how to run multiple moderation analysis in R. By exploring the impact of multiple moderators, we can deepen our understanding of the dynamics between our variables of interest and shed light on potential interactions. Statistical analyses often reveal intriguing relationships between variables. However, relationships among variables are usually more [...]

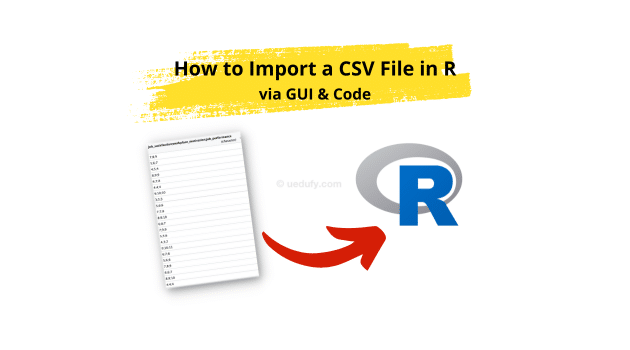
Learn how to import CSV files into R and RStudio in 6 easy steps. Master both GUI and code methods using read.csv() function. Includes step-by-step guide with screenshots, FAQ, and best practices for loading CSV data in R.
Get notified when we publish new guides on statistics, data science, and AI.